This article explains how to create Salesforce Marketing Cloud forms faster using Alpine.js and Simple CSS frameworks.
Ain’t nobody got time for that
Who has time to create custom Marketing Cloud forms nowadays? Nobody, that’s who!
That’s why the web communities and creators have provided us with various frameworks, shortcuts and templates.
Let’s have a look at some of them and learn how to create forms fast!
Learn your shortcuts
First step in starting to write code faster is to learn the code editor shortcuts!
Whatever code editor you are using, there are always shortcuts to make our life a lot easier when writing hundreds or thousands lines of code.
VS Code, for example, provides the so-called “Cheat Sheets” with the default key bindings:
Write HTML faster with Emmet
If you don’t know what Emmet is, you are going to be amazed!
In a nutshell, Emmet is a code editor plugin that allows to generate HTML using CSS selector’s syntax. And the good news is: it’s pre-installed in VS Code!
How does it work? For example, typing the following code:
html:5>form:post>input:text+input:email+button:submitWill produce this result:
<!DOCTYPE html>
<html lang="en">
<head>
    <meta charset="UTF-8">
    <meta http-equiv="X-UA-Compatible" content="IE=edge">
    <meta name="viewport" content="width=device-width, initial-scale=1.0">
    <title>Document</title>
</head>
<body>
    <form action="" method="post">
        <input type="text" name="" id="">
        <input type="email" name="" id="">
        <button type="submit"></button>
    </form>
</body>
</html>
Interested? Don’t wait, download the Cheat Sheet, print it, hang it on the wall and be golden:
Build interactive SFMC forms faster
Let’s build a Marketing Cloud custom form and learn how to do it even faster!
HTML and CSS
At first, let’s use our friend Emmet to generate the HTML code:
html:5>h1+form>(label+input:text)*3+input:checkbox+label+button:submitThen add some Ids, classes and attributes to configure the form’s properties.
<!DOCTYPE html>
<html lang="en">
<head>
<meta charset="UTF-8">
<meta http-equiv="X-UA-Compatible" content="IE=edge">
<meta name="viewport" content="width=device-width, initial-scale=1.0">
</head>
<body>
<h1>Subscribe to our Newsletter</h1>
<form>
<label for="firstname">First name</label>
<input
required
minlength="2"
id="firstname"
type="text"
>
<label for="lastname">Last name</label>
<input
required
minlength="2"
id="lastname"
type="text"
>
<label for="email">Email address</label>
<input
required
pattern="^\S+@\S+\.\S+$"
id="email"
type="email"
>
<input
required
id="consent"
type="checkbox"
>
<label for="consent">
I've read and understood the <a href="#">privacy policy</a>
</label>
<button type="submit">Subscribe me</button>
</form>
</body>
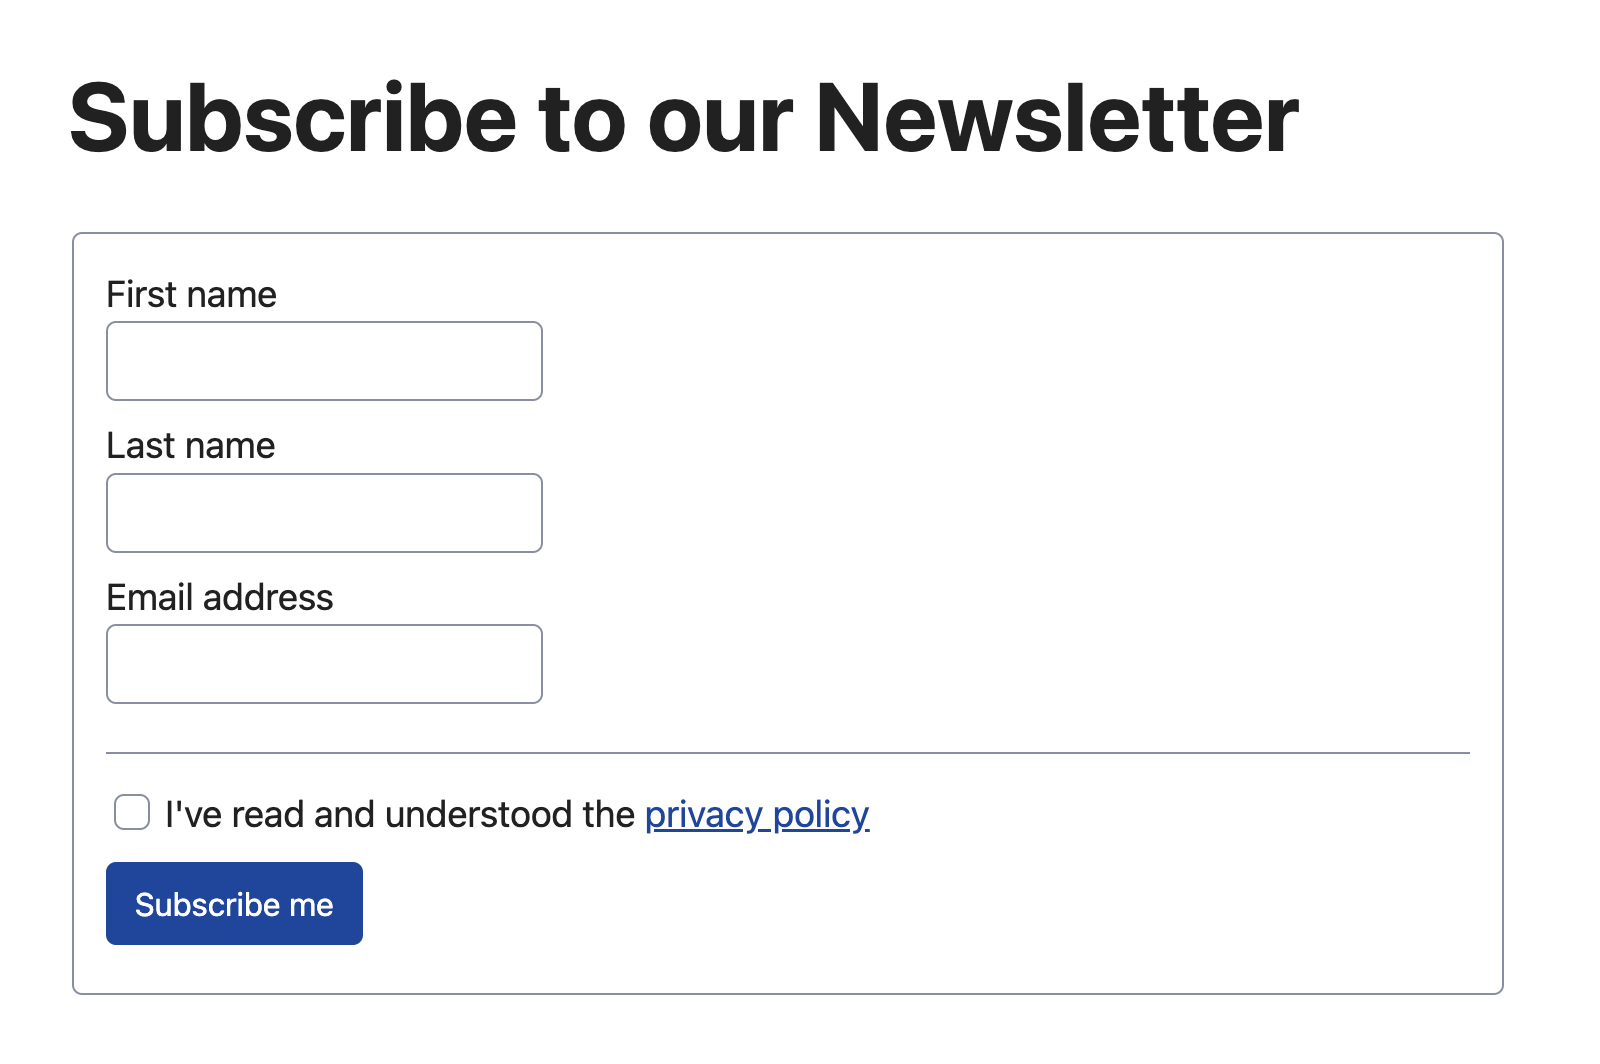
</html>Works fine! But our form doesn’t look good, as we need to create some styles to decorate the input fields, the button, the title, make the form responsive for mobile devices…
Again, we don’t have time for that!!!
Instead, we could use a CSS framework, such as Simple CSS (created by Kev Quirk). Like it? Buy him A Coffee
In order to make it work, just attach the CDN link in the HTML header and you are good to go!
<!DOCTYPE html>
<html lang="en">
<head>
    <meta charset="UTF-8">
    <meta http-equiv="X-UA-Compatible" content="IE=edge">
    <meta name="viewport" content="width=device-width, initial-scale=1.0">
    <link rel="stylesheet" href="https://cdn.simplecss.org/simple.min.css">
</head>
Mmmmmm… Beautiful isn’t it? Let’s move on, we don’t have all day.
JavaScript
In order to add interactiveness to our form, we need to write some JavaScript: get every input one-by-one, assign them to a variable, create an event listener for the form that prevents the default submission process…
No! This will take too long!!!
Instead, we are going to be using a JavaScript framework called Alpine.js and cut our development time by 2x or even 3x.
Just like with Simple CSS, we only need a CDN link in the header to make it work:
<!DOCTYPE html>
<html lang="en">
<head>
    <meta charset="UTF-8">
    <meta http-equiv="X-UA-Compatible" content="IE=edge">
    <meta name="viewport" content="width=device-width, initial-scale=1.0">
    <script src="https://cdn.jsdelivr.net/npm/alpinejs@3.12.1/dist/cdn.min.js" defer></script>
    <link rel="stylesheet" href="https://cdn.simplecss.org/simple.min.css">
</head>
How does Alpine work?
If you are familiar with JavaScript frameworks, such as Vue, React or Angular, you will understand how it works in about a minute.
But if you are new to the concept, let’s have a quick overview:
Instead of creating selectors and listeners for different HTML elements, all we need to do is to create a single function that returns an object, that can be made of sub-objects, functions and arrays.
For the sake of consistency and clarity, let’s make the returned object hold 2 entities: the values provided in the form (line 6) and the submit function that’s triggered when the button under the form is clicked (line 12).
<script>

    function SubscribeForm() {

      return {
        form: {
          firstname: "",
          lastname: "",
          email: "",
          consent: false
        },
        submit() {
          console.log(this.form);
        }
      };

    }

</script>
Now, all we have to do to attach this function to our HTML form and make it interactive is to add Alpine-specific attributes with the appropriate values:
Let’s have a look at our code with Alpine-specific attributes:
<form
    x-data="SubscribeForm()"
    @submit.prevent="submit"
>

    <label for="firstname">First name</label>
    <input
        required
        minlength="2"
        id="firstname"
        type="text"
        x-model="form.firstname"
    >

    <label for="lastname">Last name</label>
    <input
        required
        minlength="2"
        id="lastname"
        type="text"
        x-model="form.lastname"
    >

    <label for="email">Email address</label>
    <input
        required
        pattern="^\S+@\S+\.\S+$"
        id="email"
        type="email"
        x-model="form.email"
    >

    <hr>

    <input
        required
        id="consent"
        type="checkbox"
        x-model="form.consent"
    >
    <label for="consent">
        I've read and understood the <a href="#">privacy policy</a>
    </label>

    <br>

    <button type="submit">Subscribe me</button>

</form>
What about form validation?
Don’t worry about the form validation, we don’t have time to worry… the native HTML5 form validation in your browser is taking care of it, as long as the attributes required and pattern are referenced on the input fields.
SFMC flow
Enough chitchat! We are finally ready to build our simple interactive form!
As usual, we are going to be using the Form Handler technique and transfer the data from the form to the processing page using an async HTTP request (in this example, Fetch API).
What we want to achieve is the following:
- Form is filled out with valid data and the submit button is pushed.
- Data is sent to the Form Handler page using an async HTTP request.
- When the Form Handler responds, display a success or error message.
Cloud page
<!DOCTYPE html>
<html lang="en">
<head>
    <meta charset="UTF-8">
    <meta http-equiv="X-UA-Compatible" content="IE=edge">
    <meta name="viewport" content="width=device-width, initial-scale=1.0">
    <script src="https://cdn.jsdelivr.net/npm/alpinejs@3.12.1/dist/cdn.min.js" defer></script>
    <link rel="stylesheet" href="https://cdn.simplecss.org/simple.min.css">
</head>
<body>

    <h1>Subscribe to our Newsletter</h1>

    <form
        x-data="SubscribeForm()"
        x-ref="form"
        x-cloak
        @submit.prevent="submit"
    >

        <fieldset
            :disabled="disabled"
            x-show="!message"
        >

            <label for="firstname">First name</label>
            <input
                required
                minlength="2"
                id="firstname"
                type="text"
                x-model="form.firstname"
            >

            <label for="lastname">Last name</label>
            <input
                required
                minlength="2"
                id="lastname"
                type="text"
                x-model="form.lastname"
            >

            <label for="email">Email address</label>
            <input
                required
                pattern="^\S+@\S+\.\S+$"
                id="email"
                type="email"
                x-model="form.email"
            >

            <hr>

            <input
                required
                id="consent"
                type="checkbox"
                x-model="form.consent"
            >
            <label for="consent">
                I've read and understood the <a href="#">privacy policy</a>
            </label>

            <br>

            <button type="submit">Subscribe me</button>

        </fieldset>

        <p class="notice" x-text="message" x-show="message"></p>

    </form>

    <script>

        function SubscribeForm() {

          return {
            form: {
              firstname: "",
              lastname: "",
              email: "",
              consent: false
            },
            message: "",
            disabled: false,
            submit() {

                this.disabled = true;

                fetch("https://mydomain.com/form-handler", {
                    method: "POST",
                    body: JSON.stringify(this.form),
                }).then((data) => {
                    this.message = "Form successfully submitted.";
                }).catch((error) => {
                    this.message = "Something went wrong.";
                    console.error(error);
                }).finally(() => {
                    this.disabled = false;
                    this.$refs.form.reset();
                });

            }
          };

        }

    </script>

</body>
</html>
Form handler
<script runat='server'>

    Platform.Load('core', '1');

    var api = new Script.Util.WSProxy();

    try {

        var form = Platform.Function.ParseJSON(
            Platform.Request.GetPostData()
        );

        var req = api.createItem('DataExtensionObject', {
            Name: "MyDataExtension",
            Properties: wsPack(form)
        });

        if(req.Status != "OK") {
            throw req.Results[0].ErrorMessage
        }

        Write(Stringify({
            status: 200,
            result: result
        }));

    } catch(error) {

        Write(Stringify({ status: 500, message: error }));

    }

    function wsPack(o) {

        var res = [];

        for (var k in o) {
            res.push({ Name: k, Value: o[k] });
        }

        return res;
    }

</script>
Result
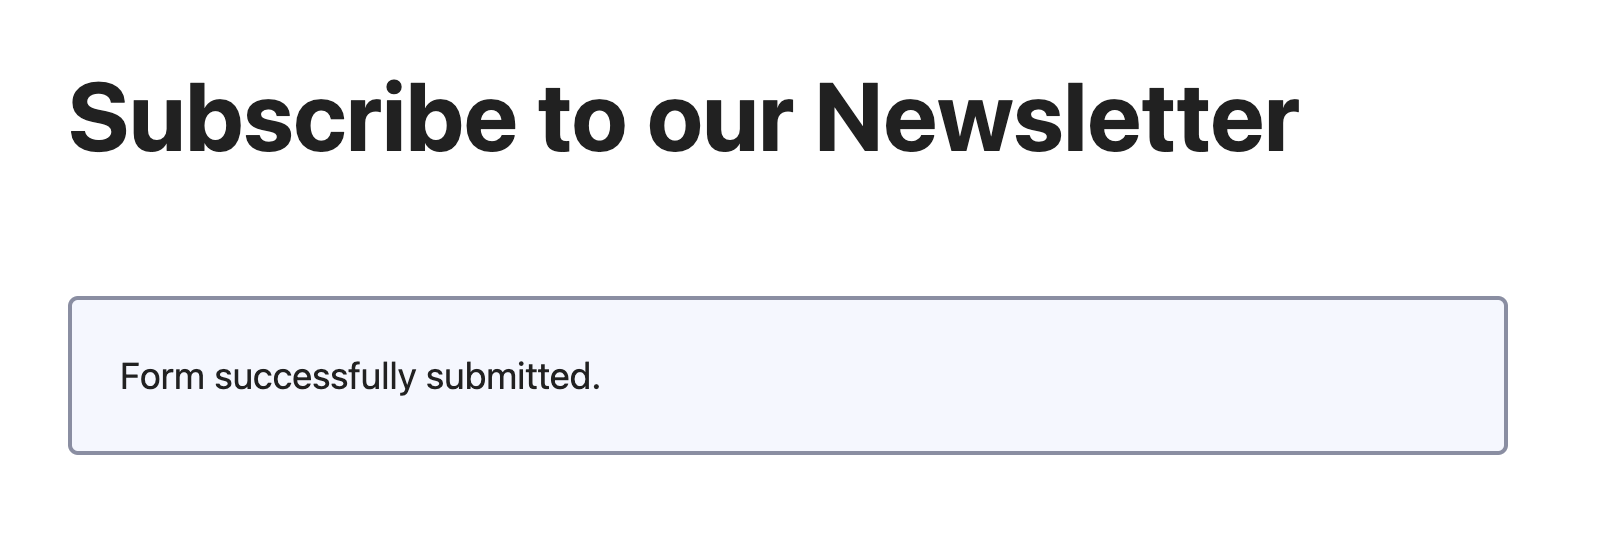
Now that our form is finished, let’s have a look at the result!
Conclusion
That’s how you create interactive forms fast and without a fuss!
Hope that the time you’ve spend reading this article will enable you to save more of your time in the future.
After all, we all need a coffee break!